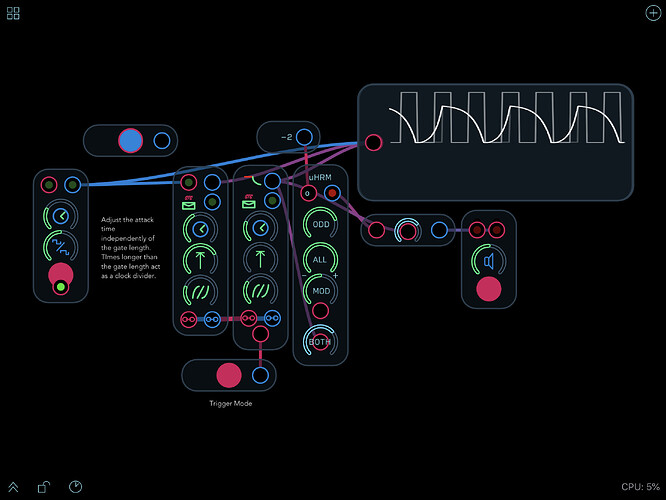
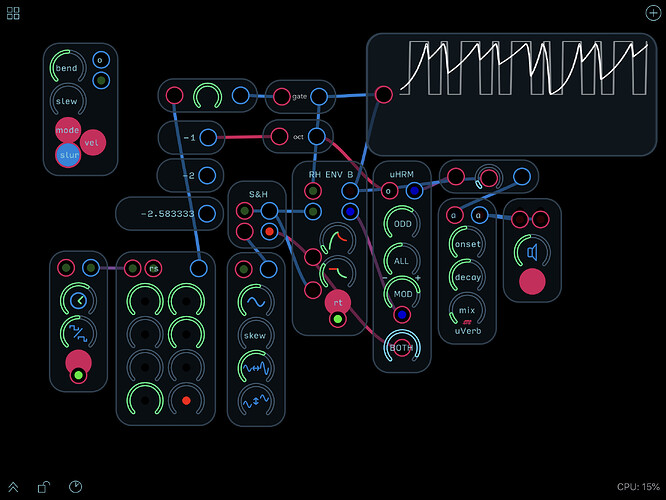
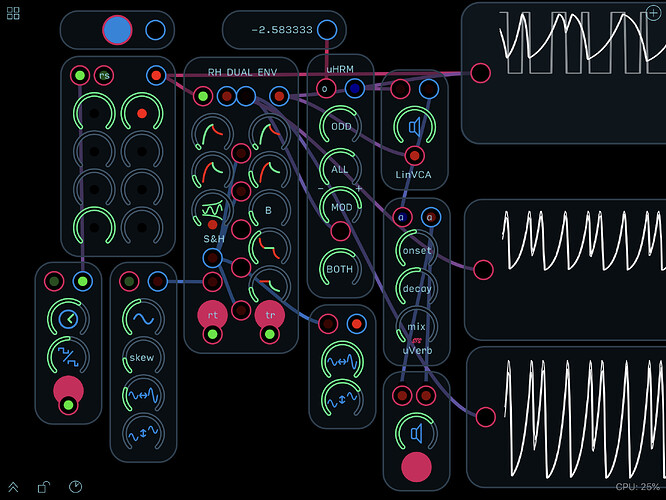
Here’s a small start on the Hordijk Dual Envelope generator.
Hordijk mentions in one of his videos that designing an envelope generator is perhaps the most difficult of all the modules in that there are so many possibilities to consider.
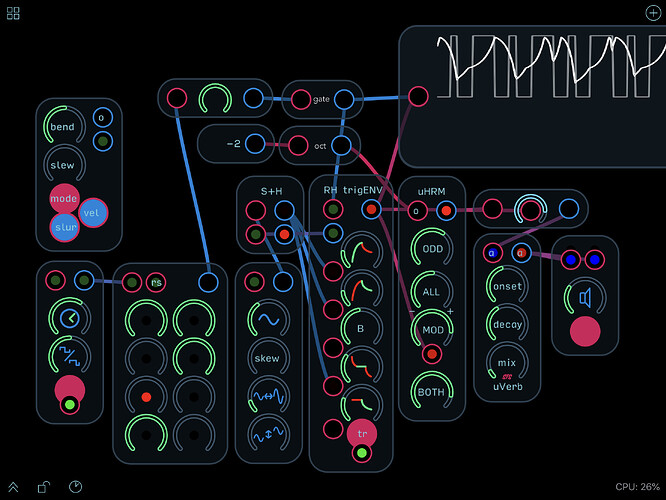
In this first small patch I’ve adapted some of @stschoen’s uLope modules to include a trigger mode – i.e. the attack time of the envelope is independent of the gate time. This means that a short trigger can result in a long attack swell, or a short attack can be triggered with a broad gate. It’s a simple feature that opens up a number of possibilities. With the attack time set to longer than the clock rate the envelope generator can suddenly starts to function as a kind of clock divider, as Hordijk points out in the video. With in-between settings, e.g. with the gate setting in before the release stage has completed, interesting rhythmic effects can arise.
(I haven’t adapted the uLope sustain modules to work with the trigger mode yet – that’s next on the list.)
RH-RM Envelope Trigger Mode.audulus (123.2 KB)
5 Likes
I really appreciate this work you do. It’s what sets Audulus apart, this disciplined inquiry. Bravo.
Would you say that this envelope is a more creative way to work with sequencer trigs/gates?
2 Likes
You alway find interesting new ways to modify my designs. It’s one of the things I really like about Audulus.
2 Likes
Pleased you’re getting something out of it. 
I think one can be equally creative within the regular constraints, but this certainly opens up some other possibilities.
1 Like
Your uLope modules have provided a wonderful tool for exploring all that can be done with envelopes. It’s been great to be able to build on top of them instead of having to start from scratch.
1 Like
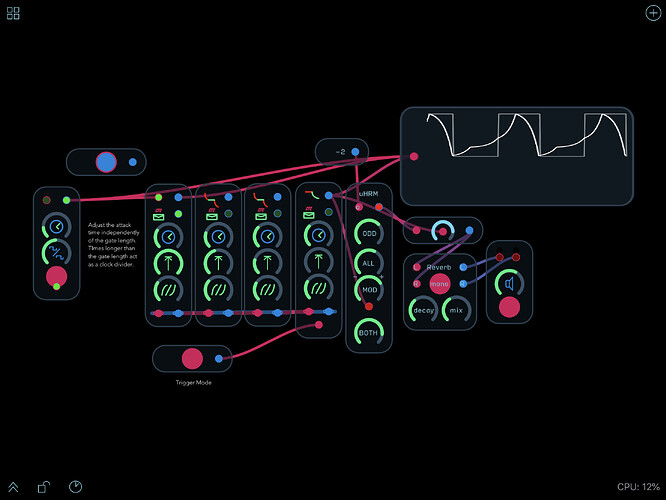
Here’s a further modification so that the uLope sustain modules can also be added to the chain with the trigger mode activated.
RH-RM Env ADDR Trigger Mode.audulus (198.3 KB)
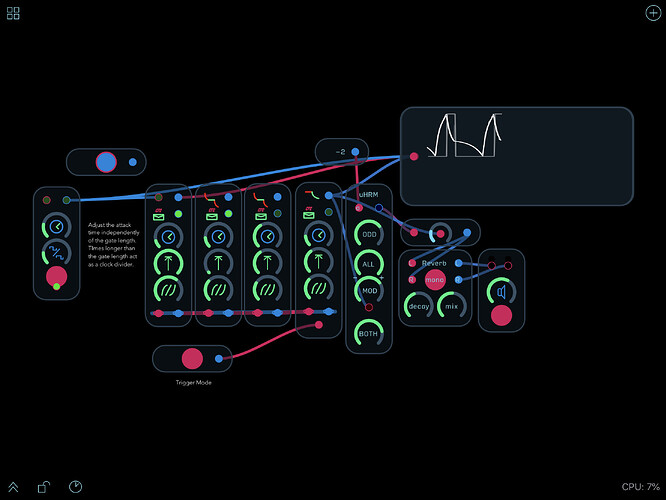
Before I pack it into a module that more closely resembles Hordijk’s design, it’s fun to have all the controls available to experiment with. For example, by setting the first sustain module in the chain with a lower level than the one that follows, it’s possible to achieve a secondary attack-like phase with a resulting ‘reverse’ effect.
RH-RM Env ADDR Trigger Mode Reverse.audulus (198.3 KB)
3 Likes
I was aiming for flexibility when I designed the original unit. I had designed some 6 stage envelopes modeled on the Casio CZ, but having a variable number of stages seemed to fit in with the uModule philosophy. Trigger mode takes that concept even further.
3 Likes
Here are the modified uLope sub-stages packed into a module that more closely resembles the ADBDR envelope in Hordijk’s Dual Envelope generator.
RH-RM ADBDR Trigger Mode Env.audulus (229.8 KB)
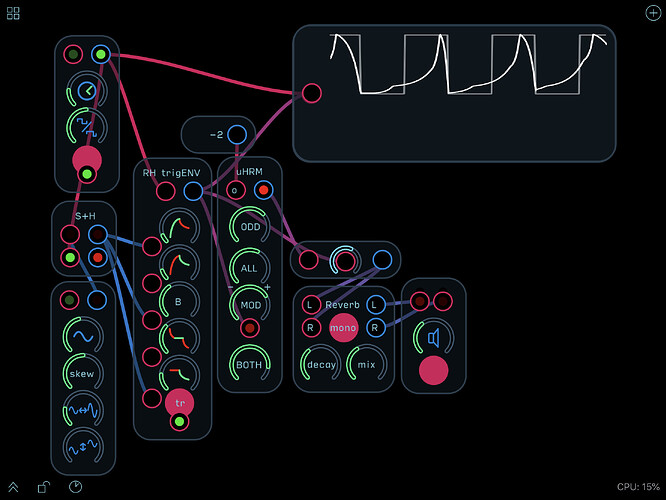
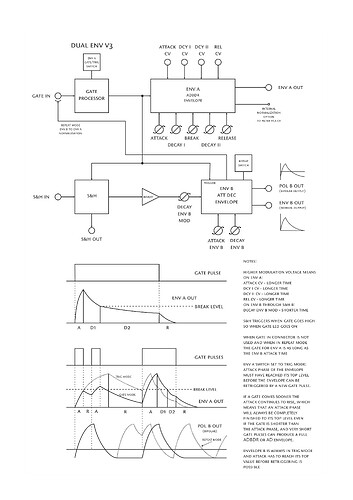
One of innovations in his design lies in replacing the sustain section with second decay stage that can slowly taper off, thus allowing for more ‘natural’ sounding contours. With the decay knob turned all the way up, a conventional flat sustain can be achieved. The second decay is also preceded by a break setting that adjusts how far the first decay falls. The resulting shapes are perhaps most easily understood by taking a look at the diagrams in Hordijk’s schematic.
Each stage also has a modulation input that adds to the values set by the knobs. Since modulation is most effective when the pitch of the modulating waveform is lower than the one being modulated, a sample & hold has been included. Hordijk provides a nice explanation of this technique in the following video:
https://vimeo.com/239778379
2 Likes
I wish I understood this better. I feel like most envelopes should have an extra decay after the release. But I don’t quite understand the sample and hold routing. Is it the RH trig env impractical as a standard envelope when using a midi keyboard patch?
1 Like
The trigger mode is specifically intended for use with clocks/sequencers. With a keyboard one is generally used to having the release set in as one lets go of the key – and that is not the case with the trigger setting.
3 Likes
Funny enough, as far as I can see this envelope generator is awesome for the keyboard. I think I just had it wired up wrong.
1 Like
You can of course simply switch off the trigger mode with the button at the bottom of the module – in which case the envelope behaves as a conventional ADSR with the attack retriggering on a quick succession of key strokes and the release setting in as you let go of the key. But trigger mode can of course be used with a keyboard as well, and if that’s getting you the results you want then great!
2 Likes
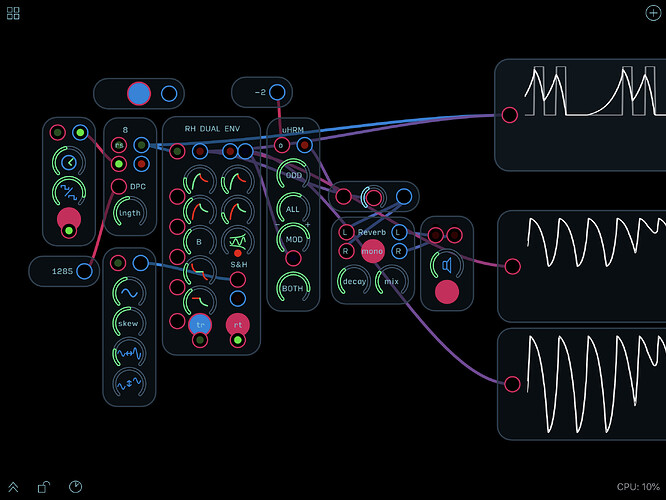
Here is the full module with both envelopes. The second envelope is always triggered along with the first and is always in trigger mode. It also has a repeat setting so that the envelope can loop on its own independently of the gate (or be used as a gate).
The second envelope is mainly intended as a modulation envelope, with the first being used for volume and the second for a filter, for example. The second envelope also has a bipolar output which can be useful in conjunction with the bipolar modulation inputs on many of Hordijk’s modules – e.g. the modulation of the Harmonic oscillator in the patch. The schematic above in this thread provides a good idea of what is going on.
RH-RM Dual Envelope.audulus (361.9 KB)
Before going into further detail I should however point out that there are two issues that I haven’t yet solved with this module.
In regular, non-trigger mode the attack can overshoot the value of 1, e.g when two attacks occur in quick succession or the release hasn’t fully played out. I’ve tried various approaches to this problem but haven’t yet found a satisfactory solution. @stschoen perhaps you have a fresh take on this since you know the ins and outs of the uLope modules. I’ve studied them in detail (and learnt a lot!) but have gotten to the stage where I’m no longer seeing the wood for the trees. (This issue also affects trigger mode when the release hasn’t played out completely.)
Another issue in trigger mode is the attack always starting from 0 which can be problematic when decays or the release haven’t been completed. E.g. when changing from regular to trigger mode in the patch above. I’ll take another look at this when I get the chance. There are probably some internals that can be handled more elegantly.
2 Likes
There are several ways to deal with re-triggering (another trigger received before the envelope cycle has completed). One approach is to not re-trigger at all. In this case the envelop must complete the release phase before it will accept a new trigger. Some envelope generators will only re-trigger once you have reached the sustain phase. For envelopes that allow re-triggering, the simplest method is to restart the envelope from zero. Although this is easy to implement, it causes an abrupt drop to zero at re-trigger which is often not very desirable. The second approach is to start the re-trigger from the current point and increase the rate of the attack so that it reaches the gate height at the same time it would have if it started from zero. This is a common approach and is the one that the built-in ADSR node uses. The third approach is to restart the envelope from zero but continue the release from the previous cycle, and switch when the new cycle crosses the old one. This is the one I have used most commonly. The third approach is to start the new envelope at the level of the previous envelope’s release. The idea is to simulate the rapid striking of a piano key or percussive instrument where each strike builds upon the previous one. As you observed, this can cause the envelope to rise above the value of the original gate. I don’t think any approach is “better” than any other. It’s really more a question of what you want the envelope to do.
2 Likes
In this case the attack should pick up at whatever point the decay or release has reached, which is how it’s behaving in the non-trigger mode. The trick though is to scale the following attack (that picks up from a non zero starting point) so that it doesn’t overreach a value of 1 – otherwise one can get some clipping-like flat lines on the top of ones envelope. It should still build on the previous values (your third approach) but not exceed 1.
I tried sampling point of the decay/release at the moment of the next gate kicking in and using that as the start point of the attack – just as you can set the end point of the release in your uLope modules (.i.e replacing that end/start feedback with the sampled value from the release) but it still overreaches even though I can see that the attack values are being scaled accordingly with the ‘end minus start’ expression in the attack submodule.
1 Like
That’s actually the second approach. Remember that for these envelopes the maximum height is the incoming gate height, not 1 to allow for dynamics when fed from the keyboard node. The gate height coming from the keyboard node often exceeds one. The general strategy for approach two requires two sample and hold nodes. The first samples the incoming gate to capture the initial gate height and the second captures the output value at trigger. For the attack you would calculate the rate by (gh-cv)/t where gh is the initial gate height, cv is the output value at trigger and t is the attack time. That should result in the attack rising to the initial gate height, assuming that the gate remains high longer than the attack time. The need for a second S&H node is why I chose the third approach which also never exceeds the initial gate. The difference between the two is small. In case two the attack begins from the current value and rises to the gate and the attack rate increases to compensate, and in case three the attack begins at 0 but the output of the envelope doesn’t switch to the attack curve until the attack value exceeds the decay value of the previous cycle. The actual point at which the envelope value starts to rise is slightly delayed compared to case two.
1 Like
…I was detecting some clicks in the Chladni synth patch I wired last night, which implements the earlier EG. I found I was loosing some range in the sound, because I couldn’t really open it up. I love the decay on the envelope though and how it stages.
1 Like
It’s taken some time, but I think I’ve managed to get a little closer to the curves I was aiming for with my version of the Hordijk ADBDR envelope generator.
My approach has been to sample the value of the release or decay curve at the moment a new gate pulse arrives, and use that as the starting point for the next attack. (In trigger mode gate pulses arriving before the attack phase has completed are ignored.) In @stschoen’s original uLope modules this was efficiently achieved by using the addition node to add the attack to the release curve, with the disadvantage though of sudden jumps should a new attack arrive during one of the decay phases.
Sampling the value and crossfading between the first and last part of the envelope introduces some tricky timing issues (which I’ve solved by adding an extra timer for the sampled end/start values and introducing a very small delay before the attack phase timer kicks in*). One the other hand, having a sampled start value for the attack not only makes it possible to have it pick up on the value of a potential preceding decay phase, but also scale the amount of time allocated to the attack according to the height available, i.e. the higher the attack point starts (depending on the level of the previous decay or release) the shorter the attack time. This also keeps attacks in quick succession that ‘build’ the overall volume from overshooting the top value of 1. (As it stands the top value corresponds to the top value of the gate height if that happens to be another value, but that could potentially be decoupled.)
The result is an ADBDR envelope that can be re-triggered at any moment in gate mode, or any moment after the attack phase in trigger mode. In gate mode the release kicks in as the gate ends, while in trigger mode it’s independent.
Small glitches can still occur from time to time when pushing the envelopes to extremes and I’ve added a low pass filter in an attempt to smooth them out. Generally it seems to be usable though. The next step is to build it into the Dual Envelope module.
RH-RM ADBDR Envelope v.1.1.audulus (315.2 KB)
*If anyone has a more elegant solution than my double timers, I’d be curious to know. This has by far been the most tricky module I’ve worked on.
2 Likes
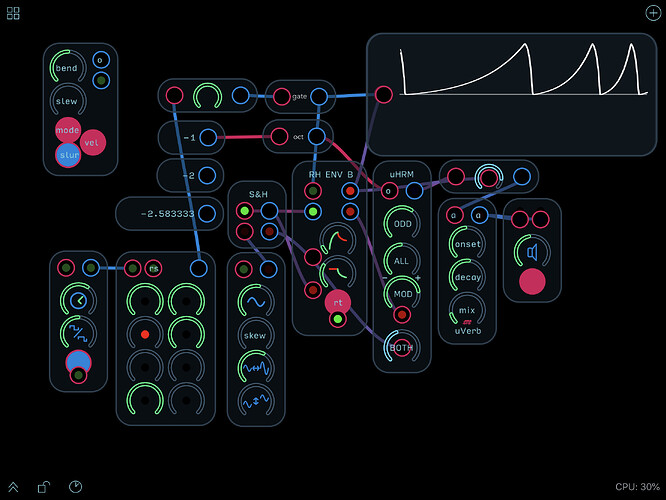
Here’s envelope B from the Hordijk Dual Envelope, updated as with envelope A (see above), as a little standalone module.
The repeat mode makes for some interesting rhythmic possibilities: On its own, without an incoming gate but with modulation, irregularly fluctuating rhythms can easily be set up (and the trigger out, mainly intended for modulation via the sample and hold, potentially used as a varying clock pulse). Alternatively, when used in conjunction with incoming gate pulses, slight anticipations or ‘off’ beats that don’t exactly fit the clock grid can be created. Toggle the master clock in the patch below to get an idea of how this works:
RH-RM Envelope B v.1.1 .audulus (273.0 KB)
2 Likes
I’ve put together a new version of the Hordijk Dual Envelope with the updated internals – this time with envelope A placed on the right. Since the ADBDR modulation inputs are probably mostly run via the S&H, it seemed more practical to avoid having the internal patching cross over the knobs too much. I found myself sometimes inadvertently attaching the S&H output to the knobs themselves as I attempted to detach it from the modulation inputs with the previous UI.
RH-RM Dual Envelope v.1.1.audulus (410.4 KB)
4 Likes
